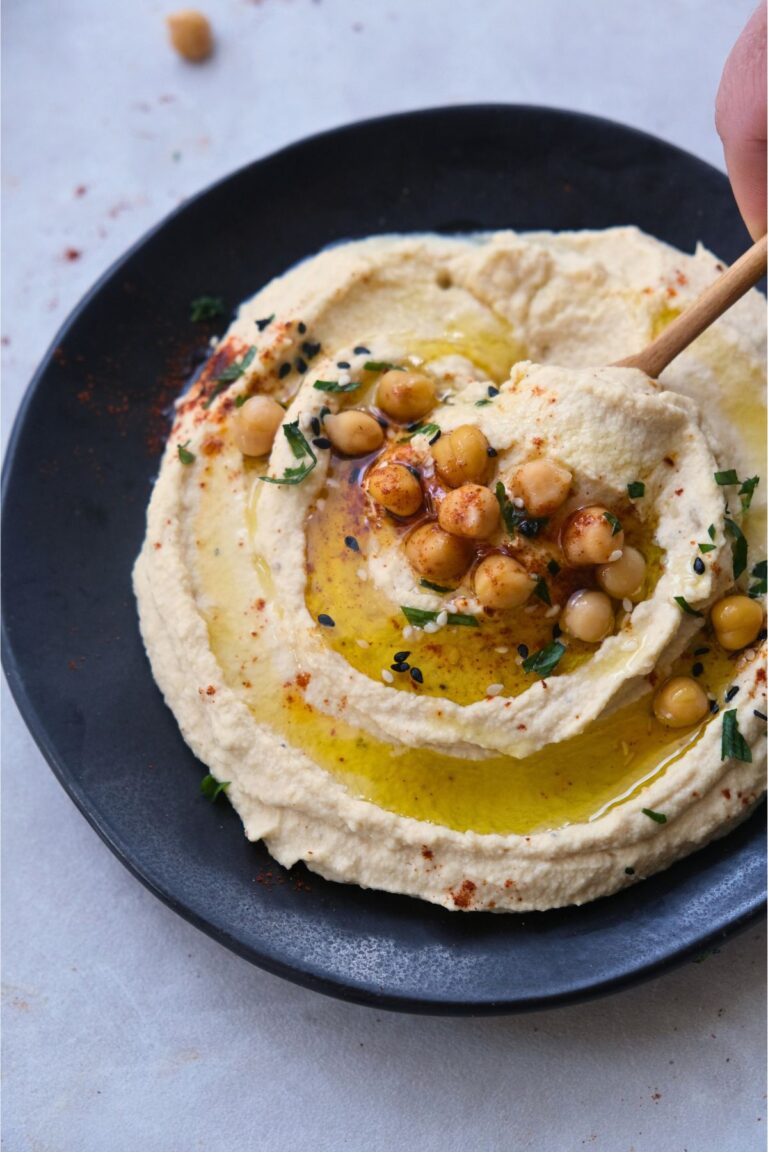
I’ve always liked hummus, but it wasn’t until I tasted an incredible one that I truly fell in love with it. That experience sent me on a mission to create my own perfect batch. But it wasn’t easy—I went through countless attempts that were either too chunky, too thick, too watery, bland, or lacking that smooth, dense, creamy texture. And let’s not even talk about finding a good garlic-free hummus recipe—it felt nearly impossible.
After much trial and error, I’m excited to share with you the best creamy homemade hummus recipe that also happens to be garlic-free!
Now, making garlic-free hummus isn’t as simple as just omitting the garlic, as garlic is usually a staple ingredient in traditional hummus recipes. So i’m going to let you in on a little secret of mine in this recipe that balances the flavours just right! It adds such a bright, tangy flavor that you won’t miss the garlic one bit!
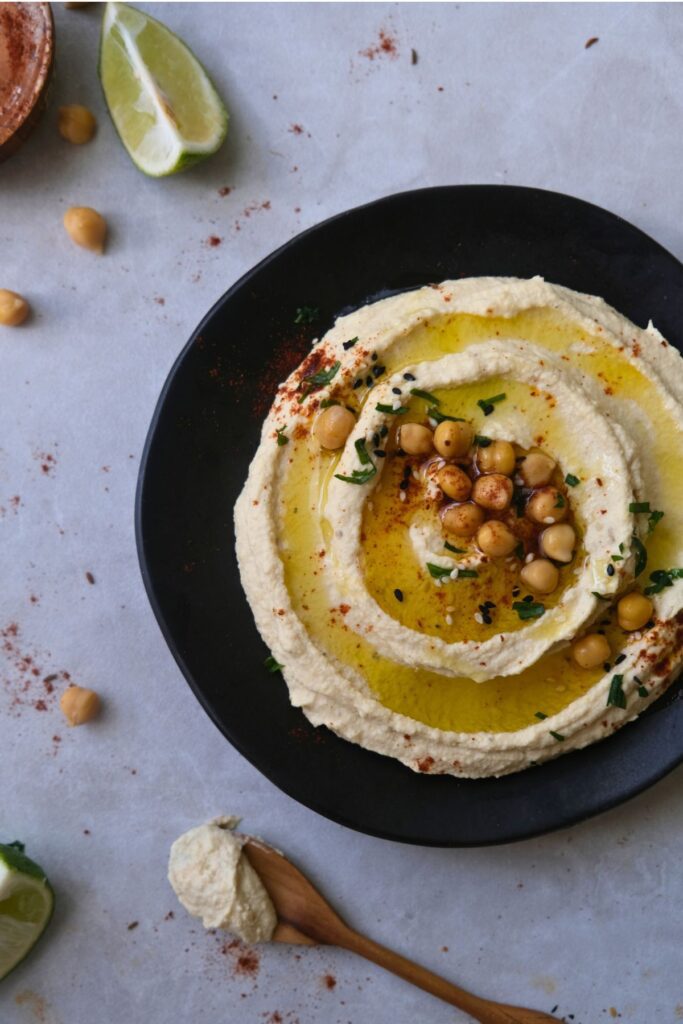
We’ll also explore some fun variations, like adding roasted red peppers or sweet potato for unique flavor twists. And if you’re feeling a little fancy, top it off with red pepper flakes, fresh parsley, or a drizzle of olive oil to impress your guests. Follow these step-by-step instructions, and you’ll be serving up the best hummus in no time!
Why we love this recipe!
- Creamy Perfection: This garlic-free hummus delivers the smoother hummus we crave, with a rich texture that’s perfect for dipping or spreading.
- Simple Healthy Ingredients: With basic staples like tahini, and lime juice, you can whip up a batch of hummus anytime without any complicated ingredients.
- Versatile Flavors: You can easily customize it by adding smoked paprika, fresh parsley, or even roasted red peppers for an extra punch of flavor.
- Quick & Easy: Made in minutes with just a food processor or immersion blender, this recipe makes hummus a go-to snack or meal addition without the fuss.
- Healthy & Nourishing: Packed with plant-based protein from chickpeas and heart-healthy fats from olive oil, this hummus is a nutritious choice that supports a balanced diet.
- Garlic Free: A fluffy hummus which omits the garlic cloves for once!
Why Chickpeas?
Chickpeas, also known as garbanzo beans, are a fantastic addition to any diet. They are loaded with protein, fiber, and essential nutrients, making them a great snack choice. Making them into hummus is even more versatile!
What do we need?
To get started, gather the following ingredients:
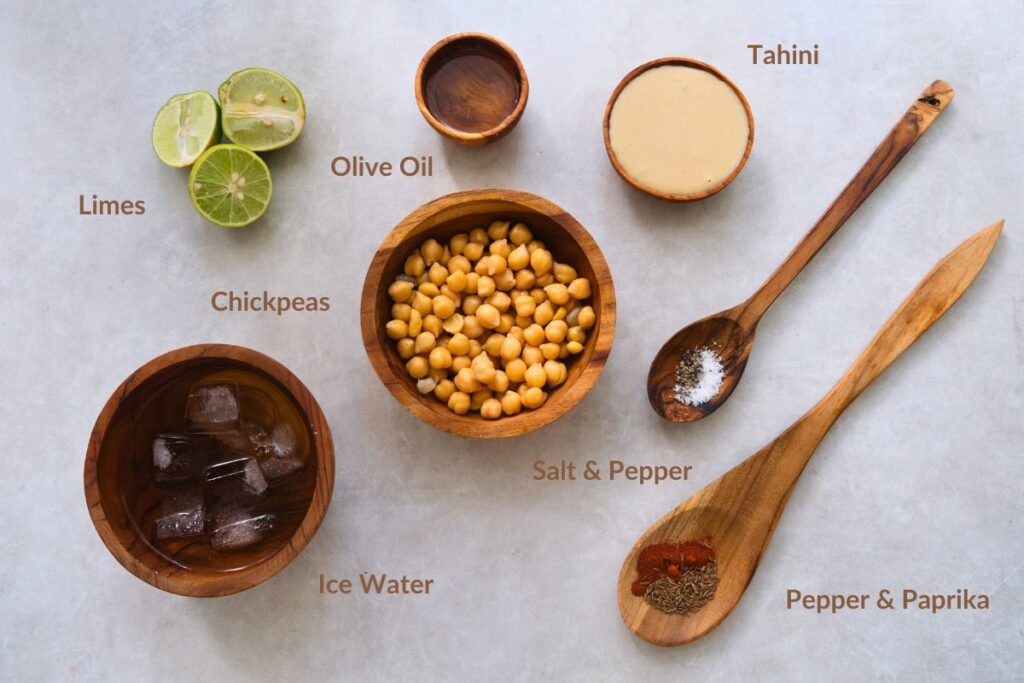
- 1 can of chickpeas (15 oz), drained and rinsed
- 1/4 cup tahini recipe (ground sesame seeds)
- 2 tablespoons fresh lime juice
- 2-3 tablespoons extra virgin olive oil
- 2-4 tablespoons ice-cold water (as needed for desired consistency).
- Salt to taste
- A pinch of black pepper
- Optional: 1/2 teaspoon smoked paprika or sweet paprika for extra flavor
- Optional: Garnish with fried or roasted chickpeas and red pepper flakes
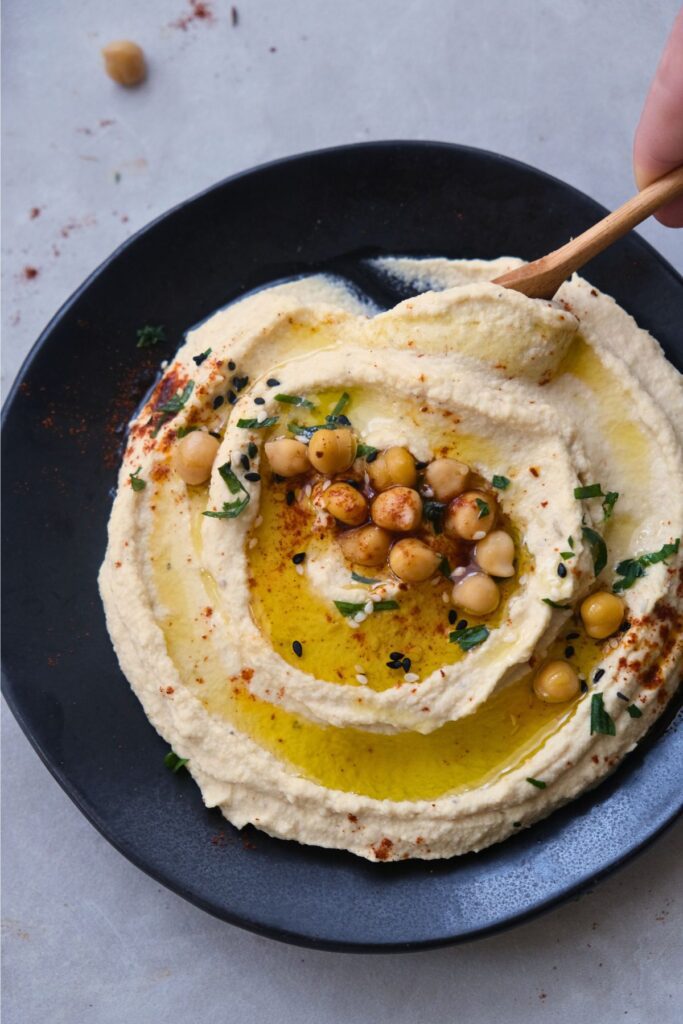
Hummus is the greatest invention since sliced bread, and I love bread.
Michael J. Fox
Ingredients and Purchasing Tips:
- Use Fresh Lime Juice:
- Fresh lime juice adds a bright, zesty flavor that can help replace the sharpness of garlic. You can use the store bought/pantry lime juice but from my experience it just won’t hit the same.
- Fresh Herbs:
- Fresh herbs such as fresh parsley can add a refreshing flavor. I would avoid dried myself but if that’s all you’ve got that’s fine too. You can blend them in or use them as a garnish.
- Olive Oil Quality:
- Use good quality extra virgin olive oil for a richer taste. Avoid the light/mild types and get the real deep flavoured olive oil for the right punch. A drizzle of olive oil on top before serving enhances the flavor.
- Tahini Quality:
- Use good quality ground sesame seeds (tahini) for the best smooth paste texture and taste. I like using hulled tahini but if you want more of an earthy taste go for the unhulled.
Step-by-step instructions
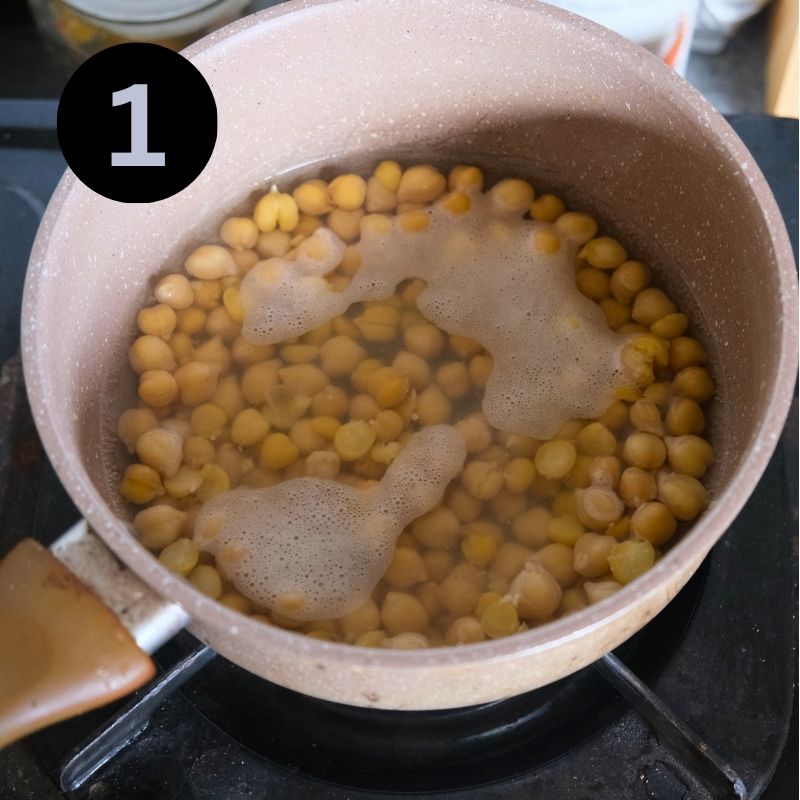
Firstly, heat your chickpeas. I suggest to do this in a pot of boiling water. I wouldn’t suggest a microwave as this can change the consistency.
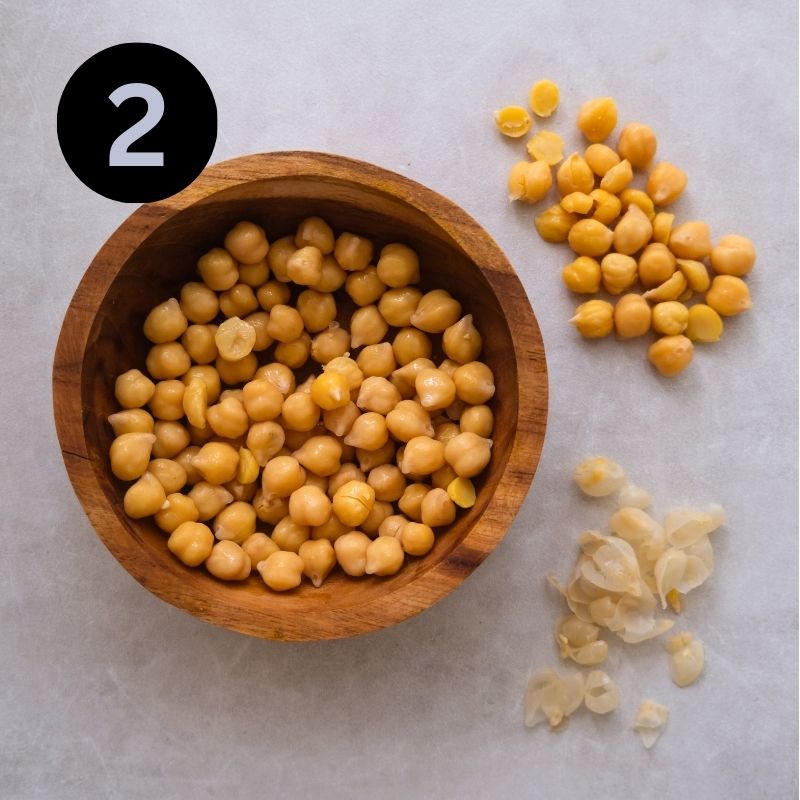
Next, peel your chickpeas. I never said this was the quickest recipe, but the best one! Don’t skip this step. Put on netflix and start peeling, you’ll thank me 🙂
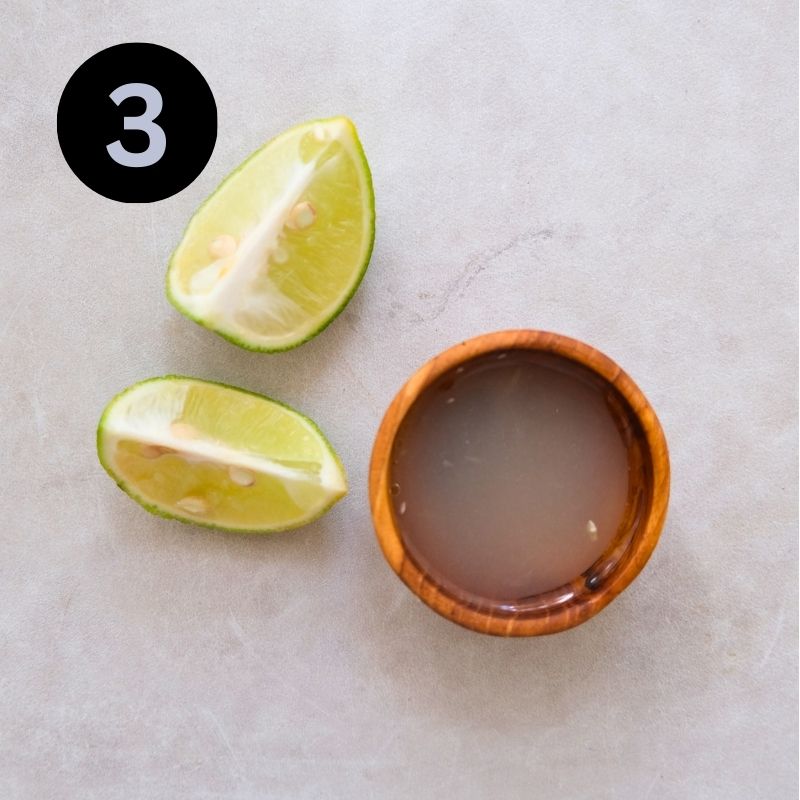
Then, squeeze your limes. Yes, limes! Limes have more of a punch than lemon (in my opinion) and is the way we’re compensating for lack of garlic. Fresh is best!
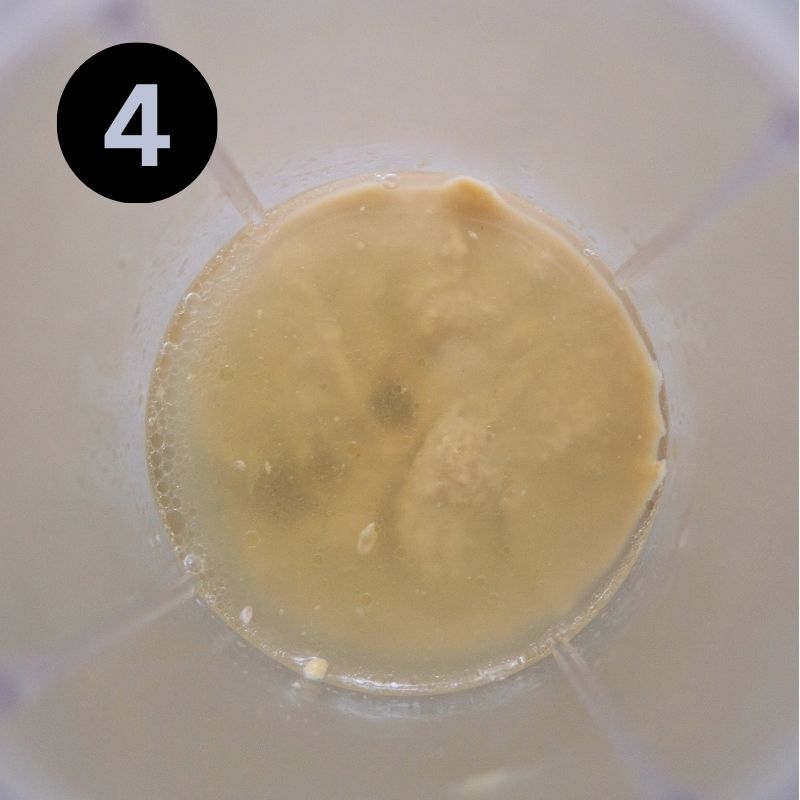
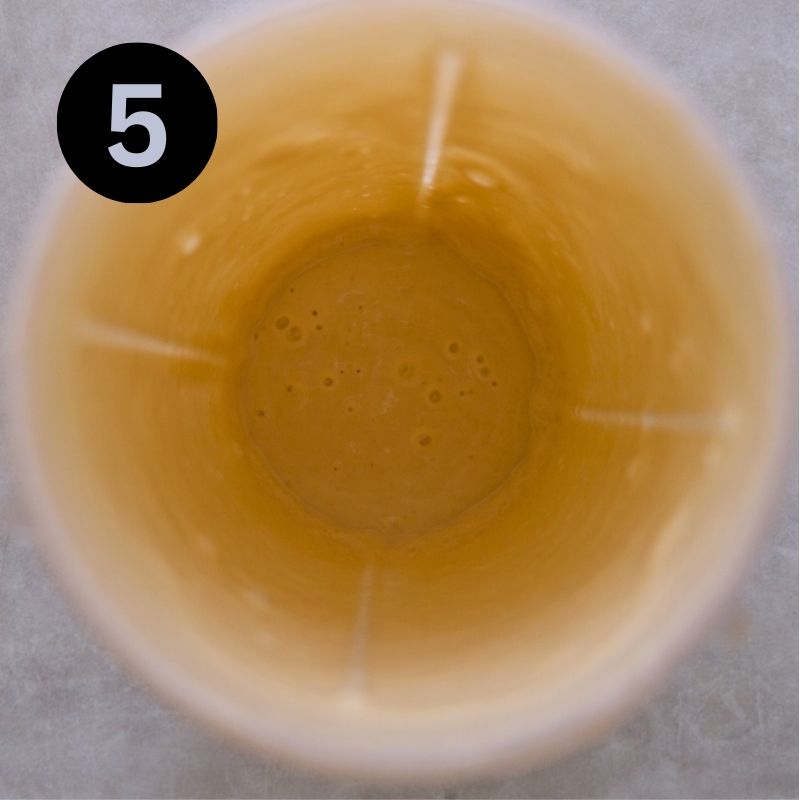
Next, blend the lime juice, olive oil, ice cold water and tahini. Yep we’re blending this first, why? This lets the flavours blend together and makes blending the actual hummus easier.
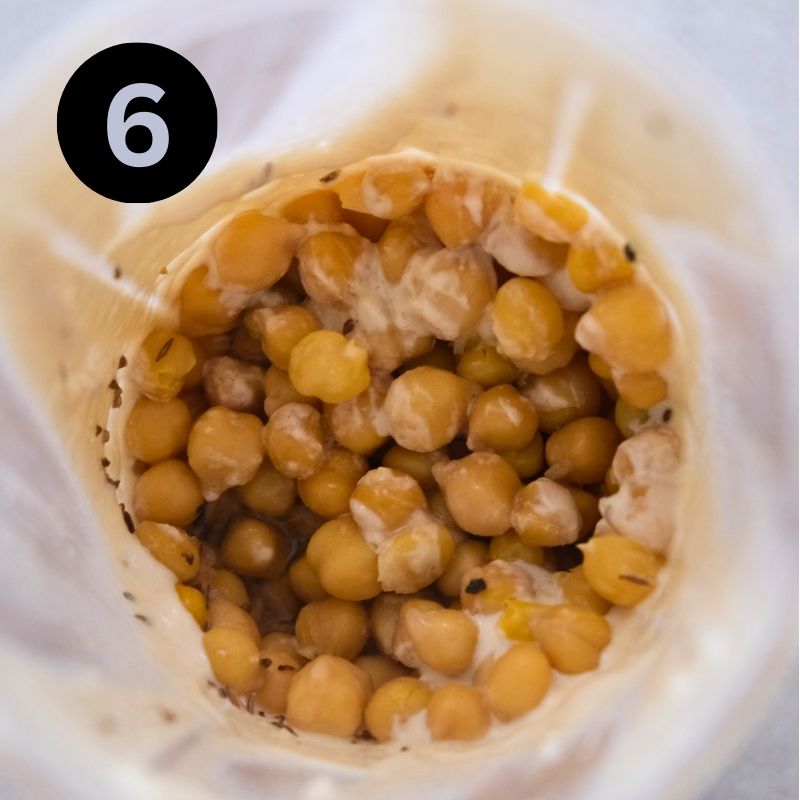
Add the warmed chickpeas. Yes we’re adding warm chickpeas to a cool mixture. Might sound contradictory but trust me it works!
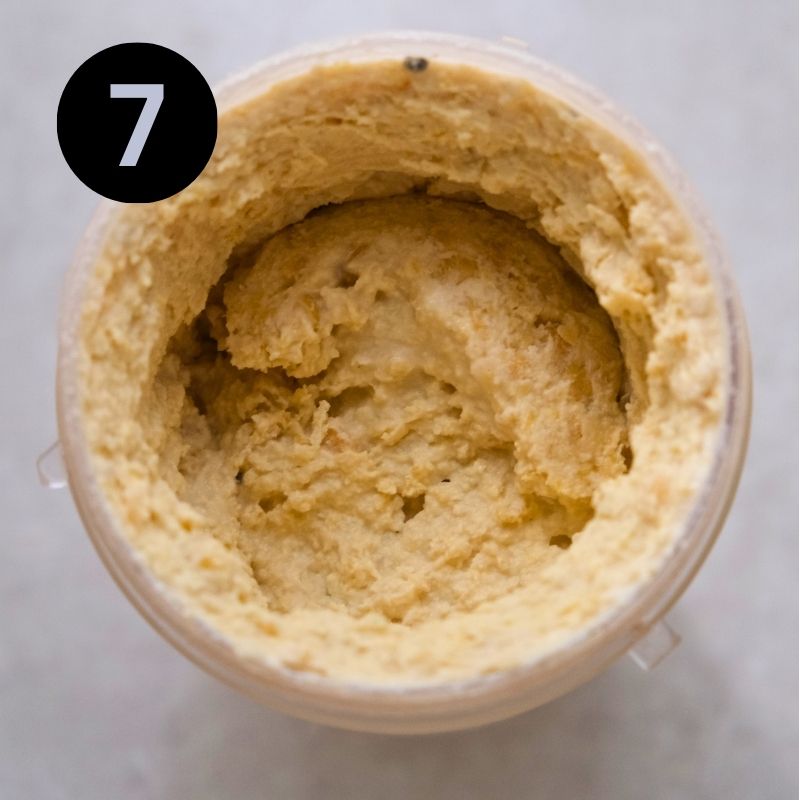
Just keep blending. Blend, scrape, blend and blend some more. Add in a tad more ice water or olive oil if needed.
Then, Season to Taste. Add salt, a pinch of black pepper, and adjust flavors to your personal preference. Blend again.
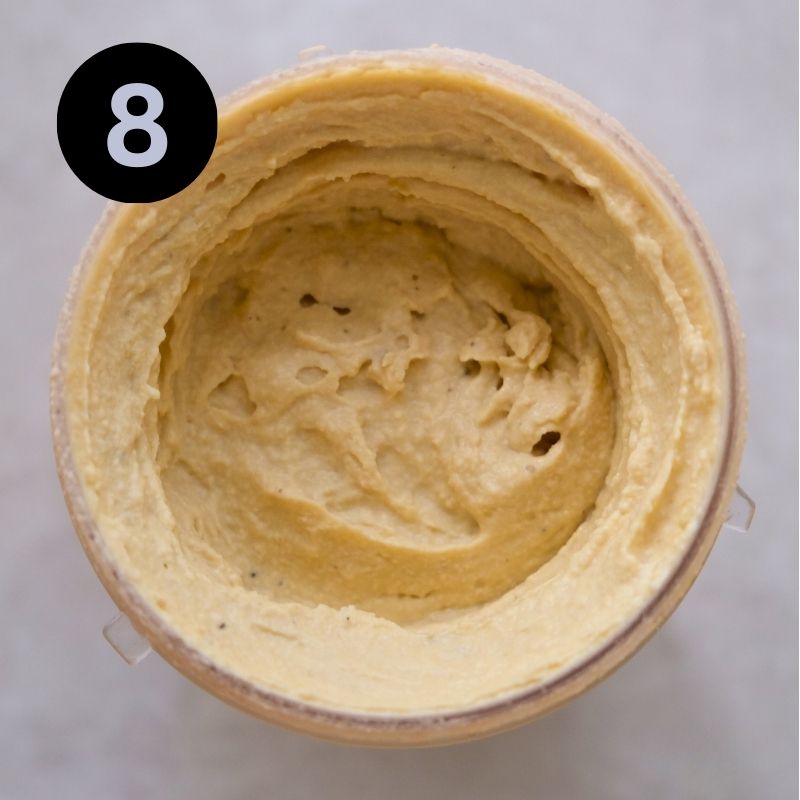
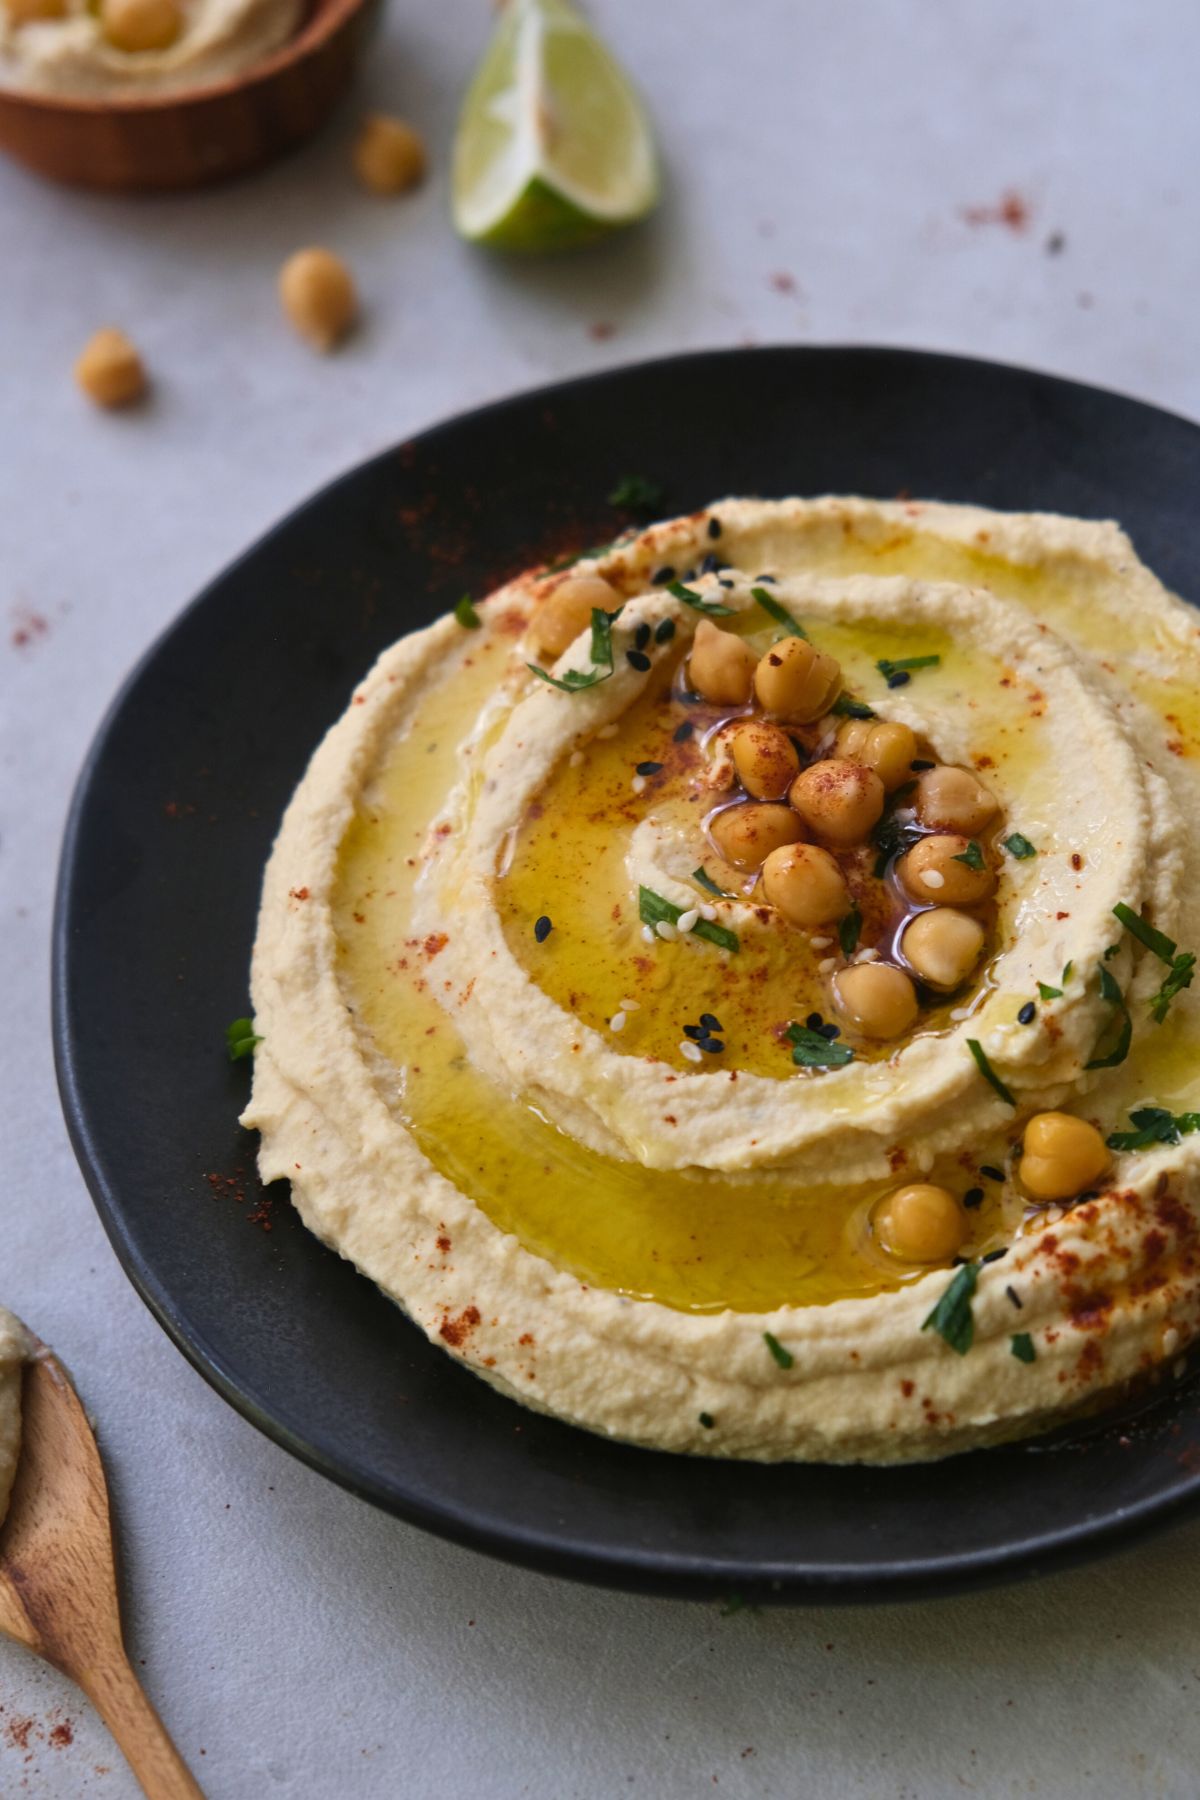
Lastly, serve. Transfer the creamy hummus to a small bowl. Drizzle with a drizzle of olive oil and sprinkle with topping of choice.
Finally, Store. Store any leftovers in an airtight container in the refrigerator for up to a week.
Tips for successful Homemade Hummus
- Canned vs dried – If you have the time, cooking dried chickpeas from scratch will make your hummus creamier and more flavorful than using canned chickpeas. Soak them overnight and cook them until tender, then peel the skins for an extra smooth texture.
- For canned chickpeas use unsalted: My biggest tip to date, if you’re using canned chickpeas don’t fall for the age old trick of buying the salted chickpeas – one salty spoonful and you’ll know why! Opt for unsalted chickpeas and you’ll have full control over the flavours in your hummus then.
- Add Ice Cubes: Adding a couple of ice cubes while blending can contribute to an even fluffier hummus.
- Season generously: Don’t be afraid to add enough lime juice, garlic, and salt. These ingredients elevate the flavor of the hummus. Taste as you go to find the right balance for your palate.
- Warm Chickpeas – slightly warming chickpeas before blending makes them easier to puree.
- Baking Soda Trick – If using dry chickpeas, cook them with just a pinch of baking soda to soften their skins.
- Blender choice: This is a small batch recipe, if using a large blender I would recommend doubling the recipe so that your hummus is easier to blend.
- Blend thoroughly: Make sure to blend your hummus long enough (about 5-10 minutes) until it’s completely smooth. Scrape down the sides of your food processor as needed.
- Let it rest: Hummus tastes even better after resting for a few hours or overnight. Letting the flavors meld together can really improve the overall taste
Variations
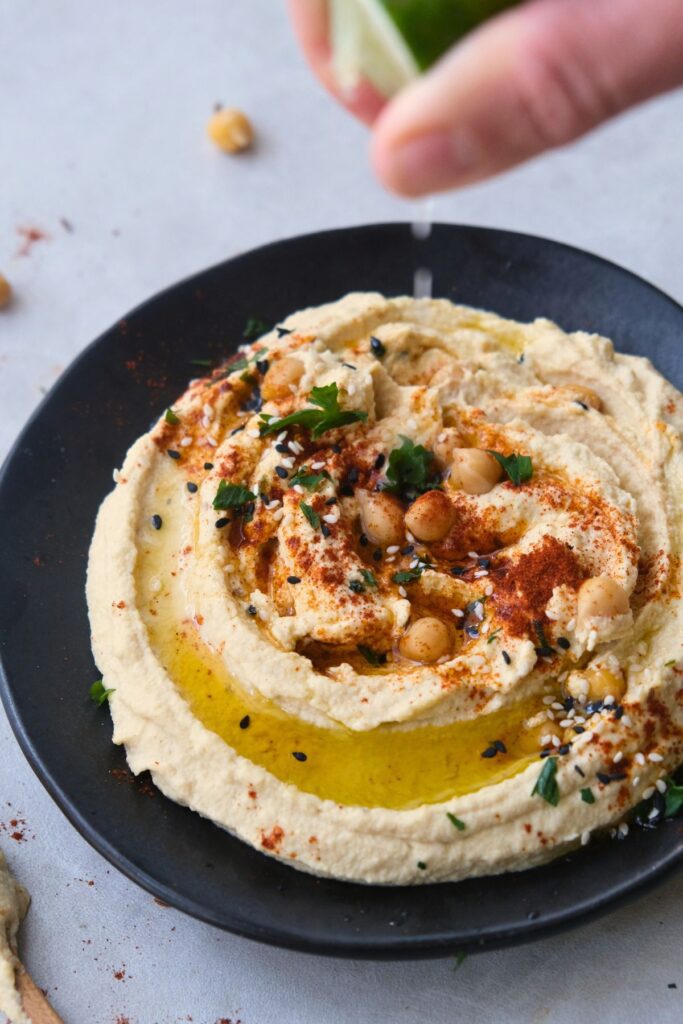
- Smoky Paprika Hummus – Add smoked paprika for a rich, bold flavor and top with a drizzle of olive oil and a sprinkle of paprika.
- Herby Green Hummus – Blend fresh parsley, cilantro, or basil into the mix for a vibrant, zesty twist, and garnish with extra herbs.
- Sweet Potato Hummus – Mix in roasted sweet potato and a touch of cumin for a creamy, slightly sweet variation, topped with sesame seeds.
- Spicy Chili Hummus – Add chili flakes or fresh red chili for a fiery kick and finish with a drizzle of chili oil.
- Caramelized Onion Hummus – Blend in caramelized onions for a sweet, savory depth and top with extra onions and olive oil.
Serving Pro Tip
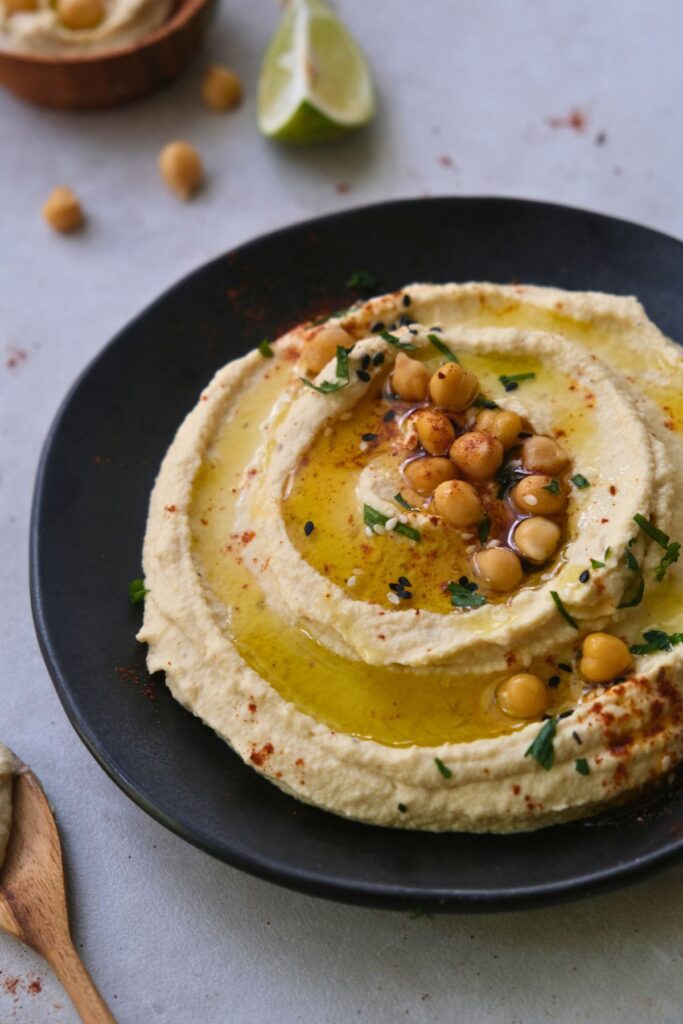
While making your hummus put some excess chickpeas in the oven with a drizzle of olive oil and pinch of salt. Cook for 20-25 minutes at 190 degrees (or until crunchy) and sprinkle these over the top of your creamy hummus along with smoke paprika and garnish of your choice. Delishioussss!!
Frequently Asked Questions:
Yes! Soak them overnight, cook them until tender, and then proceed with the recipe. Top tip here is adding a pinch of baking soda when you’re cooking, makes them softer.
Properly stored in an airtight container, hummus can last up to 1 week.
You can technically substitute with another seed butter like sunflower seed butter or pepita butter which might work okay. Alternatively, you could use almond butter or cashew butter but they would have more of a sweeter taste.
Peeling chickpea skins, using ice-cold water, and blending all liquids first are key. Scrape down any mix that flicks onto the sides of your blender and keep blending.
Yes, hummus freezes well in a freezer-safe container. Thaw and stir before serving.
Enjoy your creamy, delicious hummus with warm pita bread, fresh crunchy veggies, or as a spread in wraps. This recipe is proof that great hummus doesn’t need garlic to shine!
Best Creamy Homemade Hummus Recipe (Garlic Free)
Ingredients
- 1 can unsalted chickpeas ((or dried equivalent))
- 1/4 cup tahini
- 2 tablespoons fresh lime juice
- 2-3 tablespoons extra virgin olive oil
- 1 pinch Salt and pepper to taste
- 2-4 tablespoons ice cold water (as needed for desired consistency)
Instructions
- Firstly, rinse your chickpeas (if using canned).
- Bring a pot of water to the boil and add in your chickpeas. Simmer for 5 minutes until chickpeas are warm. Take off heat and set aside.
- Next, peel the skin off of your chickpeas. You can use a clean tea towel and rub the chickpeas between them and then peel the remainder.
- Squeeze your fresh limes.
- Blend the lime juice, olive oil, ice cold water and tahini together in your blender of choice.
- Next, add the warmed chickpeas and blend. If mixture flicks up on the side use a spatula to scrape down and continue blending. Add in a tad more ice water or olive oil if needed.
- Add salt, a pinch of black pepper, and adjust flavors to your personal preference. Blend again.
- Lastly, serve. Transfer the creamy hummus to a small bowl. Drizzle with a drizzle of olive oil and sprinkle with topping of choice.
- Finally, Store. Store any leftovers in an airtight container in the refrigerator for up to a week.
Notes
2. Peel the Chickpeas: For an ultra-smooth hummus, remove the skins from the chickpeas. It’s a bit time-consuming, but it makes a noticeable difference in the texture.
3. Warm Chickpeas: Warm your chickpeas before blending. You can do this by briefly microwaving them or heating them in a pot. Warm chickpeas blend more easily and result in a creamier hummus.
4. Baking Soda Trick: If using dried chickpeas, add a teaspoon of baking soda to the cooking water. This helps break down the chickpea skins and makes them softer, leading to a smoother hummus.
5. Let Tahini Shine: Blend the tahini and lemon juice first until it becomes light and whipped. This step emulsifies the tahini, giving your hummus a lighter and creamier consistency.
6. Resting Time: Let your hummus rest for at least 30 minutes before serving. This allows the flavors to meld together and improves the taste.
7. Add Olive Oil at the End: Drizzle a bit of high-quality olive oil on top of the hummus just before serving instead of blending it all in. This adds a fresh, rich flavor with each bite.
Did you try this recipe?
Drop a comment below to share how it turned out! Tag @onecupofkindness on Instagram and use the hashtag #onecupofkindness.

